case study Kalki 2898 AD: 17K+ Organic Traffic Spike in 30 Days for Mythlok How we capitalized on cultural moments for massive SEO wins. by splitbitinnovativesolutions@gmail.comJanuary 15, 2026
case study SEO Case Study: 6X Organic Growth for Mythlok in One Year How consistent SEO execution boosted a mythology content hub’s visibility. by splitbitinnovativesolutions@gmail.comJanuary 15, 2026
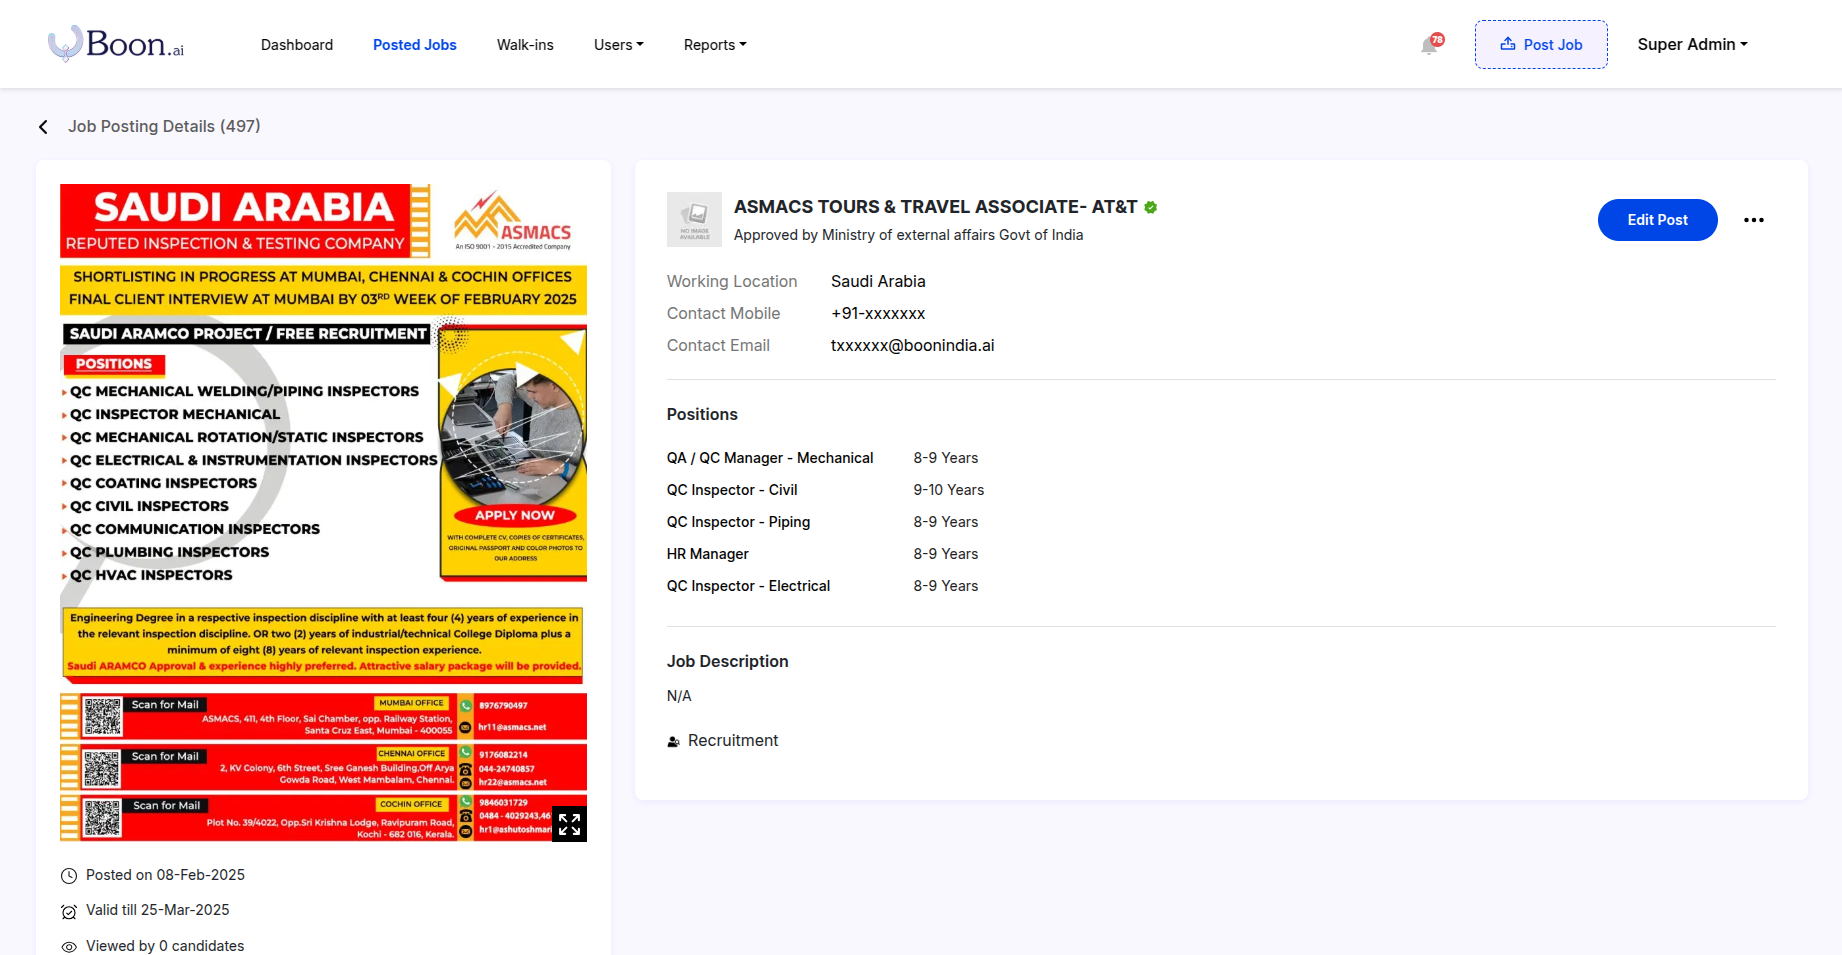
case study Building a Scalable Job Board MVP for Blue-Collar Workers in the Middle East Connecting Workers with Opportunities — Fast. by splitbitinnovativesolutions@gmail.comJanuary 15, 2026